
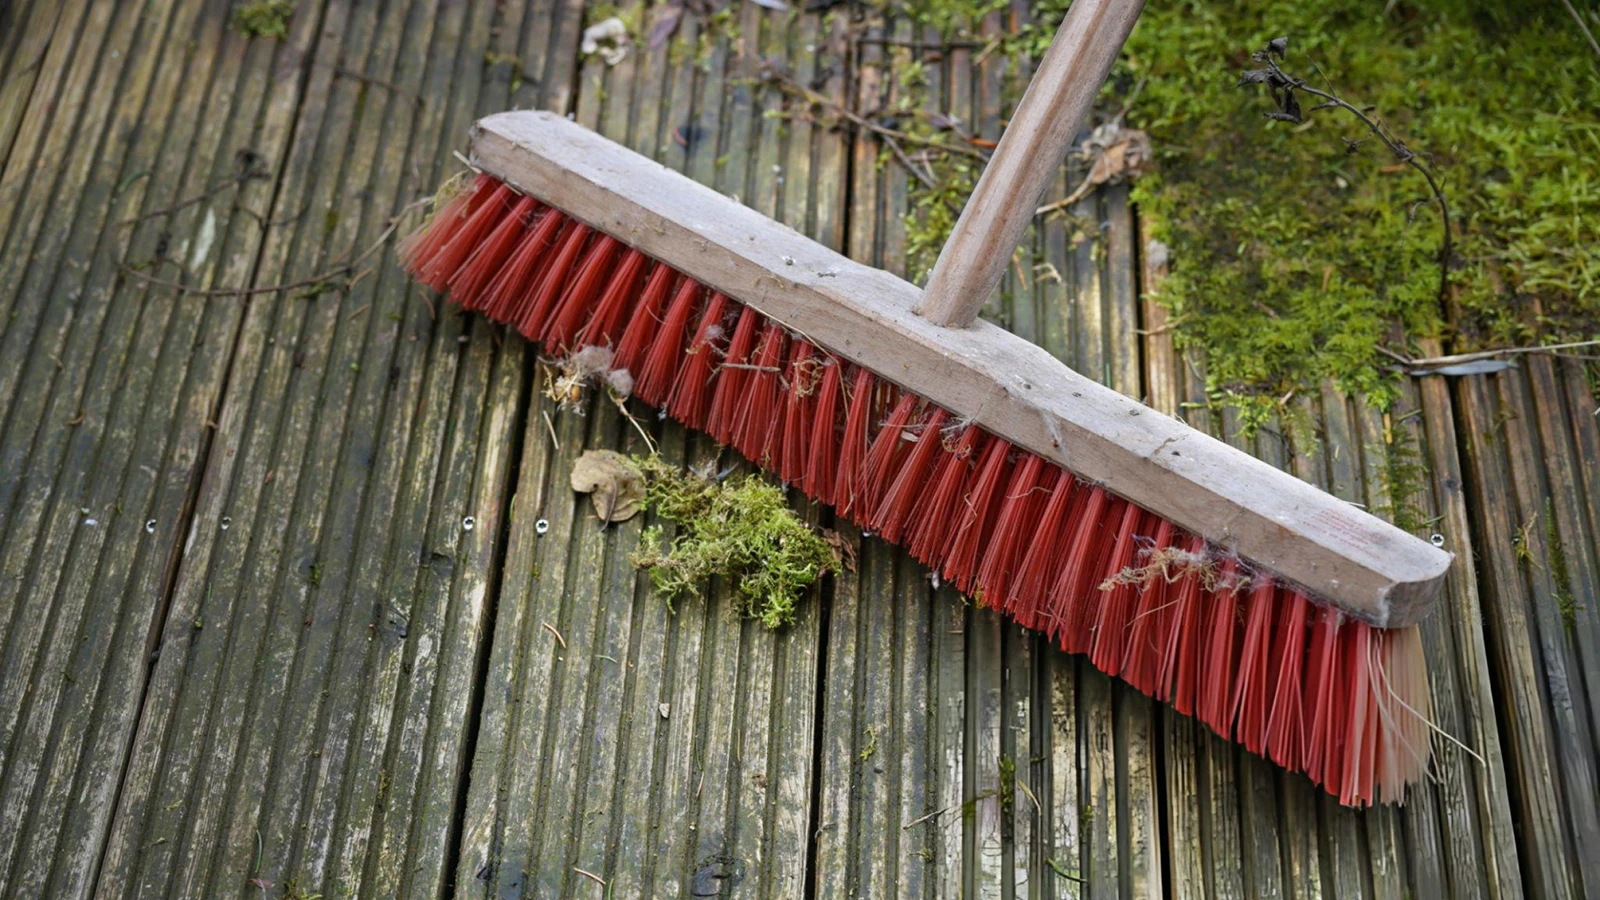
Bristles are filaments, and filaments do not all respond to heat, water and storage the same way. Guidance written for healthcare environmental cleaning is direct on the point: reusable cleaning equipment becomes contaminated during use and should be cleaned and stored dry between uses (CDC, 2024). That document is scoped to healthcare facilities with limited resources and does not claim to cover a household broom — but the mechanism it describes applies to any reusable tool, which is why it is worth knowing.
In practice, the mess users complain about — hair matted at the base, a grey paste where the bristles meet the block, a smell that returns a week after washing — is usually a drying and sequencing problem rather than a soaping problem. Cleaning a broom is not difficult. Doing it in the wrong order, or with water that is too hot for the filament, is what shortens the tool’s useful life.
This guide covers the four-step sequence, the wash rules for each bristle material, and the point at which trimming stops working and the head should be replaced.
Key Takeaways
- Strip the bristles dry before anything gets wet — wet dust packs into the base.
- Wash warm, bristles only, neutral detergent; never hot water on a plastic head.
- Dry bristles-down in moving air; never store a damp head.
- Trim frayed tips once, then replace the head, not the whole tool.
Why Do Broom Bristles Get Dirty in the First Place?
Look at a broom after a week of sweeping and the debris is not on the tips: it is packed into the root zone where the bristles enter the block, which is where hair, fiber and floor oils collect and a rinse never reaches. That zone is also the part you cannot inspect and cannot dry quickly, which is why a broom can look clean at the tips while still holding old grit at the base.
Three failure patterns show up again and again:
- Tangled fiber. Hair, string and lint wrap around bristle clusters. Left alone, they mat into a felted band that reduces the broom to a squeegee.
- Oil-and-dust paste. Kitchen and food-service floors leave a greasy film. Dust sticks to it, and the mixture sets at the base of the bristles.
- Splay and bend. This is a storage failure, not a sweeping failure. Bristles left bearing weight for weeks are the ones that splay and stop reaching the floor evenly.
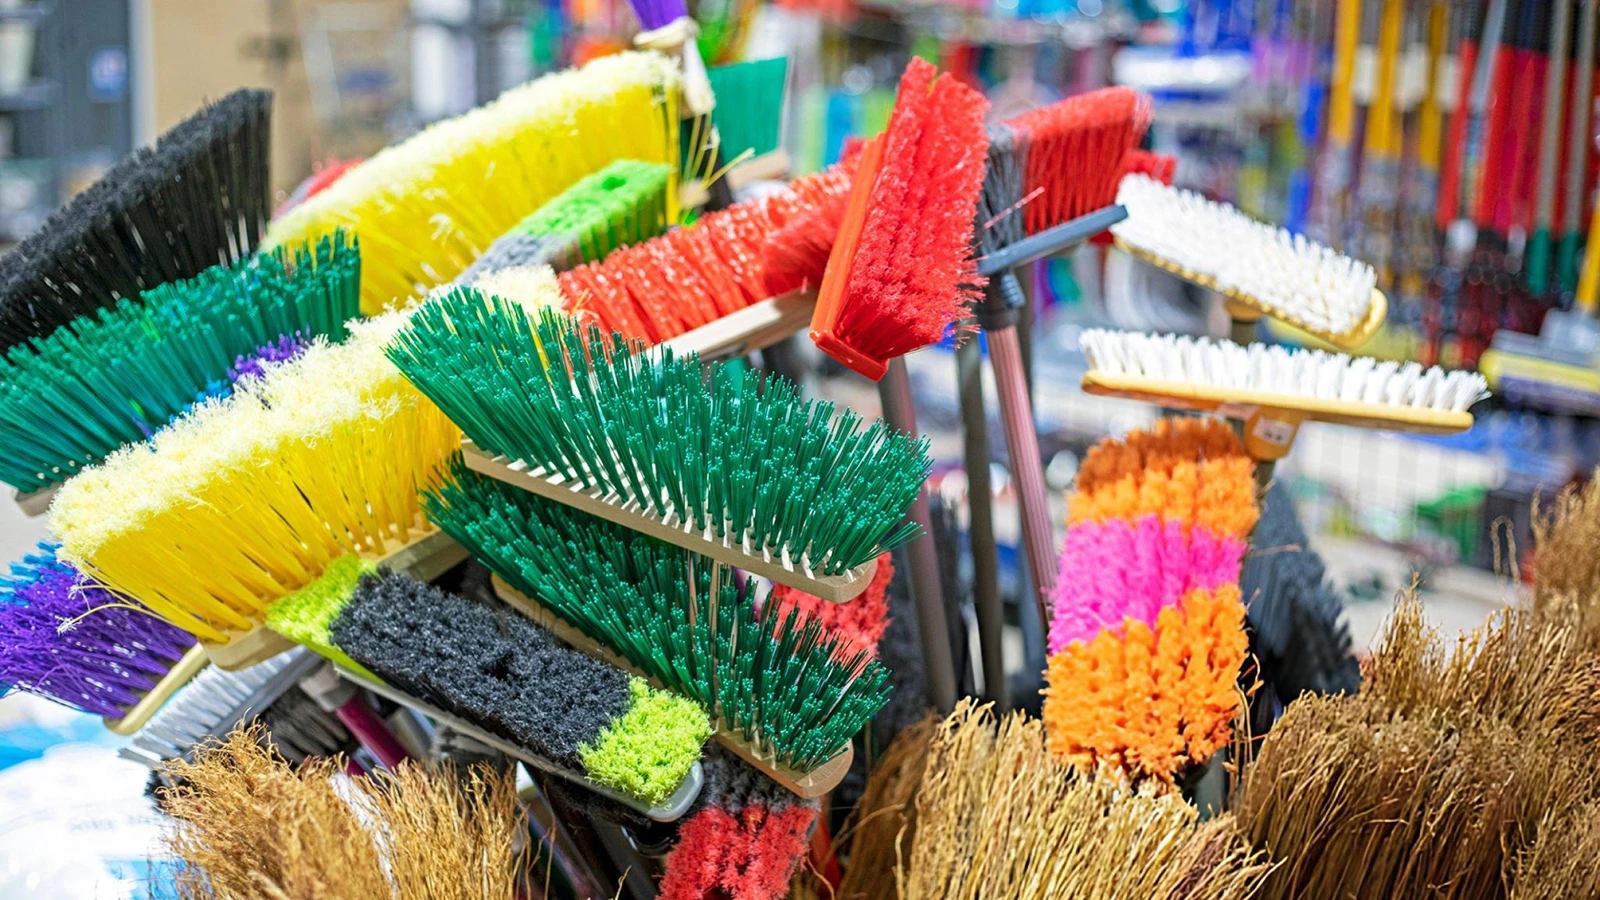
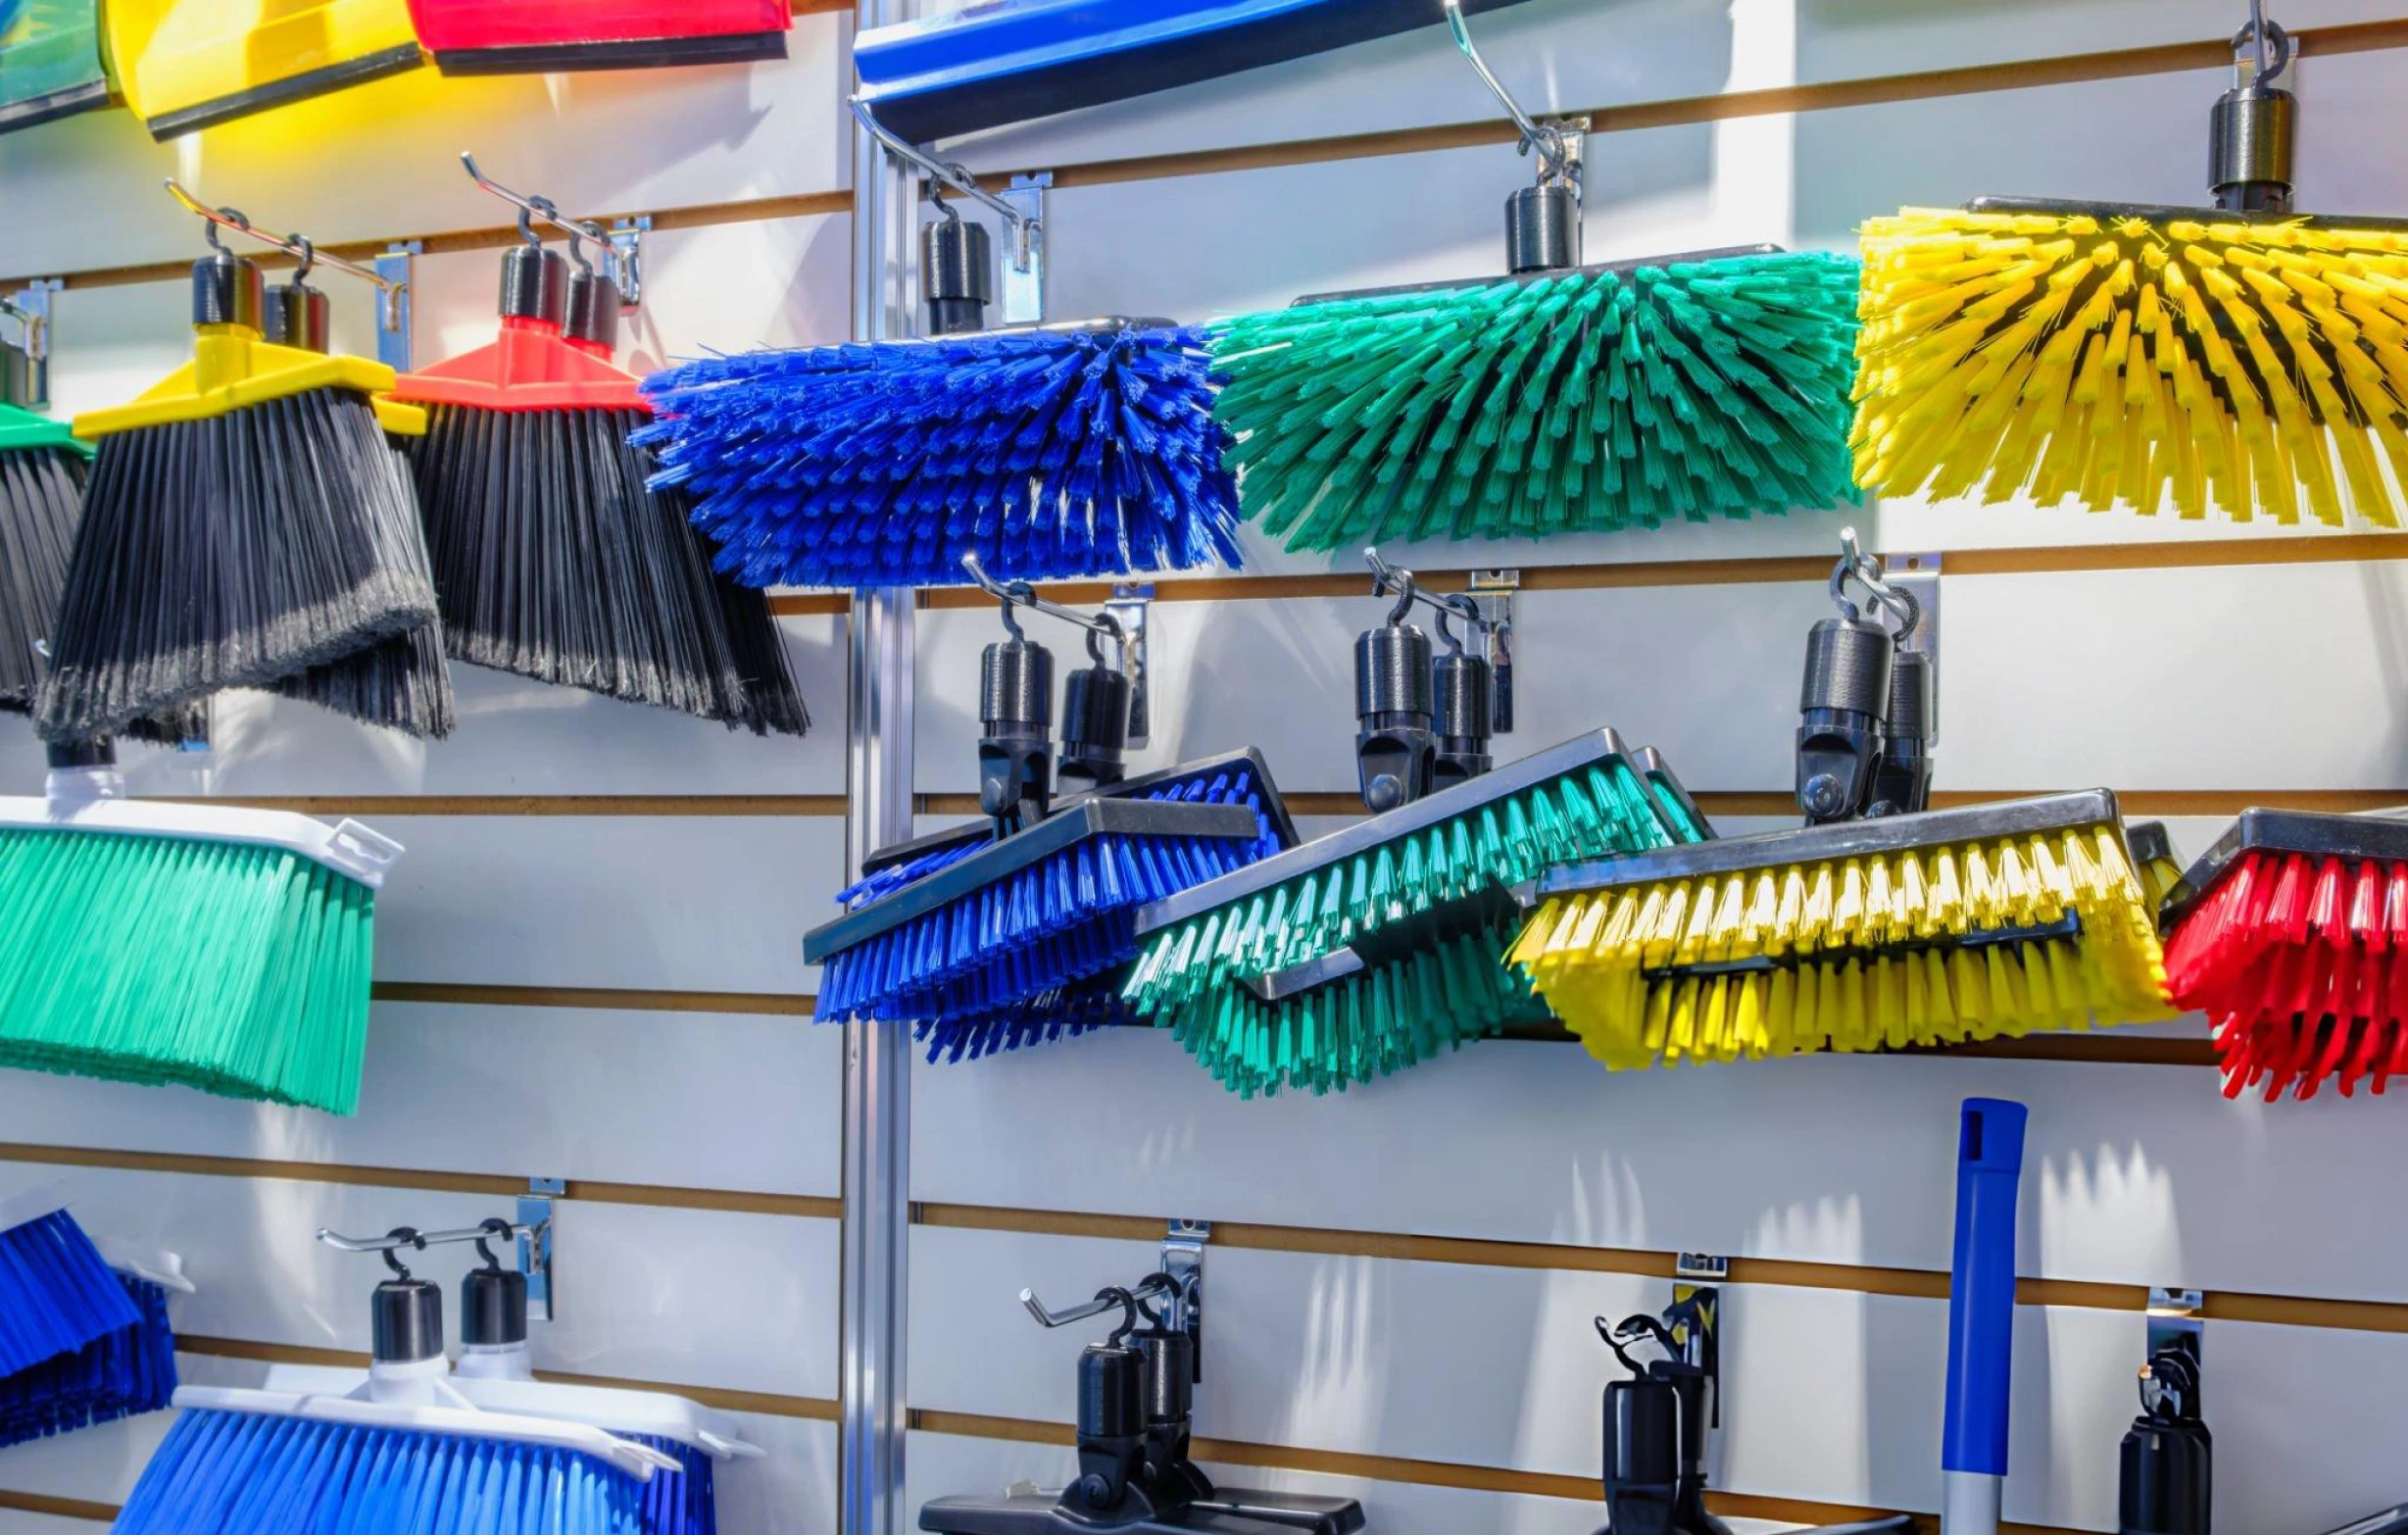
Because the root zone is the target, broom care is a sequence, not a single action. The order matters more than the cleaning product, which is why skipping step one makes the remaining steps harder rather than easier. Formats differ in how much root zone they expose, too — our buyer’s catalog of types of brooms and their applications maps how angle, push, lobby and whisk heads are built.
Step 1: How Do You Strip the Solids Before Washing?
Never wet a visibly soiled broom. Water converts dust, hair and grease into a paste, and the paste migrates downward into the root zone where it sets. In a cleaning forum thread on washing brooms, one commenter describes removing the solids first so the wash does not make things worse: wash “only after getting the solids out or you’ll have quite a mess” (r/CleaningTips). That thread is worth reading with a caveat: its most-upvoted reply recommends hot water, which this guide advises against, so treat it as evidence that the failure is common rather than as a method to copy.
Work in this order, outdoors or over a bin:
- Comb the bristles with the dustpan teeth. Many broom-and-dustpan sets mold a row of teeth into the pan edge for exactly this. Draw the bristles through the teeth a section at a time.
- Tap the head on a hard surface. Use a wall, a step or a kerb. Keep the taps flat rather than whipping the head, which bends bristles.
- Pull the big clumps out by hand. Wear gloves if the broom has been used on food-service floors.
- Finish with a vacuum attachment or a soft brush to lift the fine dust the combing left behind. This is also the moment to vacuum the handle grip, which collects the same film.
At the dry stage, teeth reach the root zone and a brush does not. The teeth rake through the bristles where the debris actually sits, which is why they belong on the pan edge where the hand already is rather than in a separate tool — the arrangement used on self-cleaning broom and dustpan sets with teeth. Keep the stage and the tool paired: a soft brush or vacuum for surface dust while the broom is dry, the teeth for the root zone, and a stiff brush in the wash water or on a steel head. If the head unscrews, work it over a bin without the handle swinging.
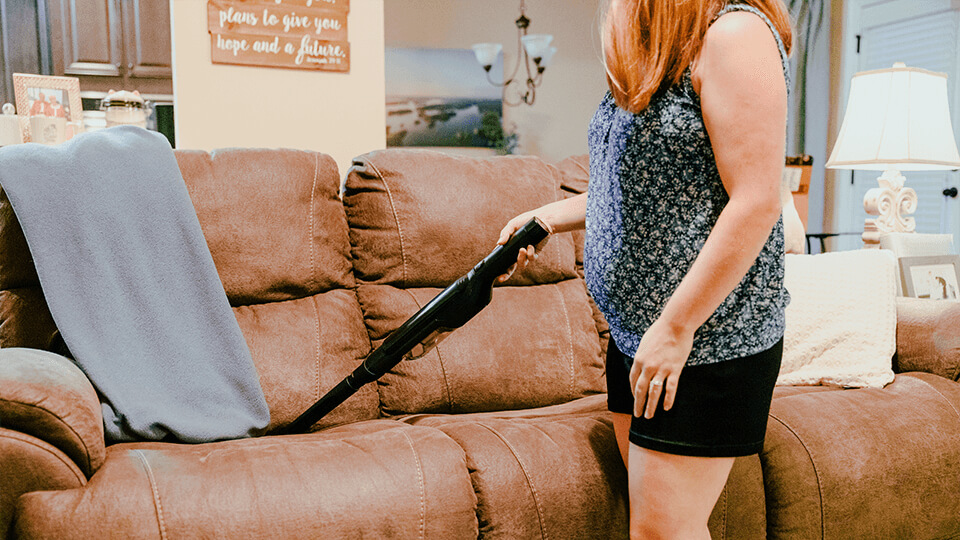
If the same floors are also vacuumed, the dry-first habit applies there too. Our guide to cleaning and maintaining your vacuum cleaner covers the filter and brush-roll side of the same problem.
Step 2: How Do You Wash Bristles Without Damaging Them?
Use warm water — not hot — with a neutral dish detergent, and submerge the bristles only. Keep the block, the ferrule and the bristle crimp above the waterline: the joint is the one part you cannot inspect and cannot dry, so it should never be the part sitting in water. Material data explains why the temperature rule is firmer for some filaments than others: polyester filament absorbs very little water, typically under 0.4% at standard conditions (GLYarn technical guide), while nylon is hygroscopic and takes on water by weight — around 2.7% for unfilled nylon 6 at 23 °C and 50% relative humidity (NylonPlastic, material data).
Practical soak times differ as well, and the sources disagree. One guide puts plastic-bristle heads at 30 to 60 minutes and natural-fiber heads at about 15 minutes (Food52); another puts plastic bristle heads at 15 to 30 minutes (Better Homes & Gardens). Take the shorter end. The soak is not what lifts the soil — agitation in the wash water is — so a shorter soak costs nothing and keeps the block away from water for less time. One widely used how-to guide goes further: never put a broom in hot water, because it can melt a synthetic head and weaken natural fibers (wikiHow, updated 2025).
| Bristle material | Water temperature | Soak time | Disinfectant note | Dry method |
|---|---|---|---|---|
| Polypropylene (PP) | Warm only — never hot water on a plastic head | 15–30 min (BHG for plastic bristle heads) | Neutral detergent. Avoid bleach soaks. | Bristles down, moving air |
| Polyester (PET) | Warm | 15–30 min — take the shorter end; guides disagree | Neutral detergent; oxygen-based cleaner if needed | Bristles down, moving air |
| Nylon | Warm — the joint and the filament both matter here | Shortest practical soak; nylon takes on water | Avoid routine bleach soaks on nylon. | Bristles down until fully dry, not “mostly dry” |
| Natural fiber (broomcorn, straw) | Warm; avoid repeated soaking | About 15 min | Salt-and-vinegar is a traditional option for odor; do not repeat often | Shade, not direct sun — prolonged sun makes the fiber brittle |
| Steel | Warm | As needed for heavy grime | A stiff wire brush first, then soapy water; treat rust separately | Dry immediately and thoroughly |
The rule in one line: warm water, neutral detergent, bristles only, and keep the block dry. When in doubt, go cooler and shorter — under-soaking does less harm than over-soaking.
Our companion reference on PP, PET and nylon bristle materials explains how those filaments are specified in the first place, and which floor types each one is chosen for.
Step 3: How Should You Dry a Broom?
Dry the broom head with the bristles pointing down, in moving air, until it is completely dry, not mostly dry. The CDC instructs facilities to clean reusable cleaning equipment and store it dry between uses, and to position mops with the head up so the head can dry fully (CDC, 2024). The same logic applies to a broom head: the broom that comes back off the hook smelling musty is the one that went up damp.
Microbiologically, this is the step that matters most. Household cleaning tools are microbial habitats, and in a 2022 explainer for the American Society for Microbiology the tools that dry fastest harbor the least bacteria — a closed container promotes more growth than open air (American Society for Microbiology, 2022). Its examples are sponges and brushes rather than brooms, but the drying principle carries over. Washing removes the soil. Drying decides whether the broom stays usable.
- Rinse until the water runs clear. Work the bristles between your hands while rinsing so detergent does not stay trapped in the middle of the head.
- Shake out the excess. A short flick outdoors removes most of the free water before it reaches the block.
- Hang it bristles-down — head up. Those are the same position, and it is the orientation that works: the block ends up at the top with the bristles pointing down, so gravity carries water away from the joint instead of collecting it there.
- Choose a ventilated spot. A utility closet with the door closed is the worst option, because the head sits in still, humid air.
- Skip prolonged direct sun. Sunshine dries fast, but extended exposure makes natural fibers brittle; shade with airflow is the safer default (Better Homes & Gardens, 2025).
The rule in one line: dry first, dry fast, dry fully. Most steps in this guide can be repeated if they go wrong; leaving a head damp cannot be undone later.
The same drying rule applies to other floor-care tools with absorbent heads. Our guide to how to clean a mop head walks through the launder-and-dry cycle for string and microfiber mops.
Step 4: How Should You Store a Broom?
Store a broom so that nothing presses on the bristles — hung from the handle is the simplest way to do that. Compare two brooms of the same age and the splayed one is usually the one that was stored with weight on them: pressed to a floor, jammed against a wall, or resting on the head.
A dedicated broom per zone is the other habit worth building. In a peer-reviewed floor-cleaning study, each animal housing room was assigned its own broom, while shared mop heads were the item that spread contamination: reusing cotton string mop heads with a quaternary ammonium disinfectant increased bacterial counts on the floor after mopping, from 31 to 106 and 21 to 149 colony-forming units in the two suites tested (Capria et al., J Am Assoc Lab Anim Sci, 2022). The study did not sample the brooms themselves, so treat the one-broom-per-zone rule as prudent practice rather than a measured result.
- Once it is dry, hang it — never rest it flat on the bristles.
- Keep the storage spot ventilated and away from damp cupboards.
- Wipe the handle with a damp microfiber cloth. For a soiled wooden handle, the routine published by Better Homes & Gardens applies: warm water and vinegar, dry, then a drop of mineral oil on bare wood. Plastic and metal handles take warm soapy water, or a disinfectant wipe.
- Assign brooms by zone — food service, restrooms, warehouse and outdoor sweeping should not share one head.
- Do not store a broom outdoors long-term, where sun and rain work on the fiber and the joint.
For facilities that split dry and wet floor care, the broom is the dry half of the system. Our overview of dry floor care tools shows how brooms, sweepers and dustpans are grouped by application.
What Actually Damages Broom Bristles (and What Doesn’t)?
Most broom-bristle damage comes from two variables: heat and prolonged moisture. That is also why two mainstream sources can disagree without either being careless — one warns that brooms should never go into hot water (wikiHow), while a USA Today home-care column recommends a warm water, bleach and dish soap soak followed by drying outside in a sunny spot (USA Today, 2026).
Read both rules through the filament. For synthetic bristles the risk is heat: hot water is the main risk to a plastic head. Natural fiber dislikes prolonged soaking and prolonged sun. Nylon takes on water by weight, so a long soak leaves it wetter than a polyester head would be. Bleach is a separate question: the CDC states disinfectants are only for disinfecting after cleaning, and lists brooms and dry mops among the tools not to use for disinfecting surfaces (CDC, 2024).
Where the published advice conflicts, look at what each routine was written for. The bleach-and-sun method comes from a column that covers brooms, mops, toilet brushes and sponges in a single pass — a general routine for a set of tools rather than a broom-specific one. The hot-water caution comes from a guide that addresses brooms alone. Where the two disagree, the more specific source is the better starting point: heat is the irreversible risk, and disinfection is the step you can skip when the head dries fully.
| Instead of this | Do this | Why |
|---|---|---|
| Soaking the whole head | Submerge the bristles only | The block joint cannot be inspected or dried once soaked; leave it out of the water |
| Hot or boiling water | Warm water, neutral detergent | Heat softens synthetic filaments and weakens natural fiber |
| A bleach soak as routine | Clean first, dry properly, disinfect only when there is a reason | Disinfectants are for use after cleaning and are not for broom heads |
| Drying flat on a floor or in a closed cupboard | Hang bristles-down in moving air | Trapped moisture drives odor and splay; faster-drying tools harbor less bacteria |
| Baking a natural-fiber broom in direct sun for a full day | Shade with airflow | Dry fast, but do not cook the fiber until it turns brittle |
A dishwasher is out for the same reason hot water is: a normal cycle runs hotter than the wash water you would use by hand. If the head unscrews, wash it in the sink instead.
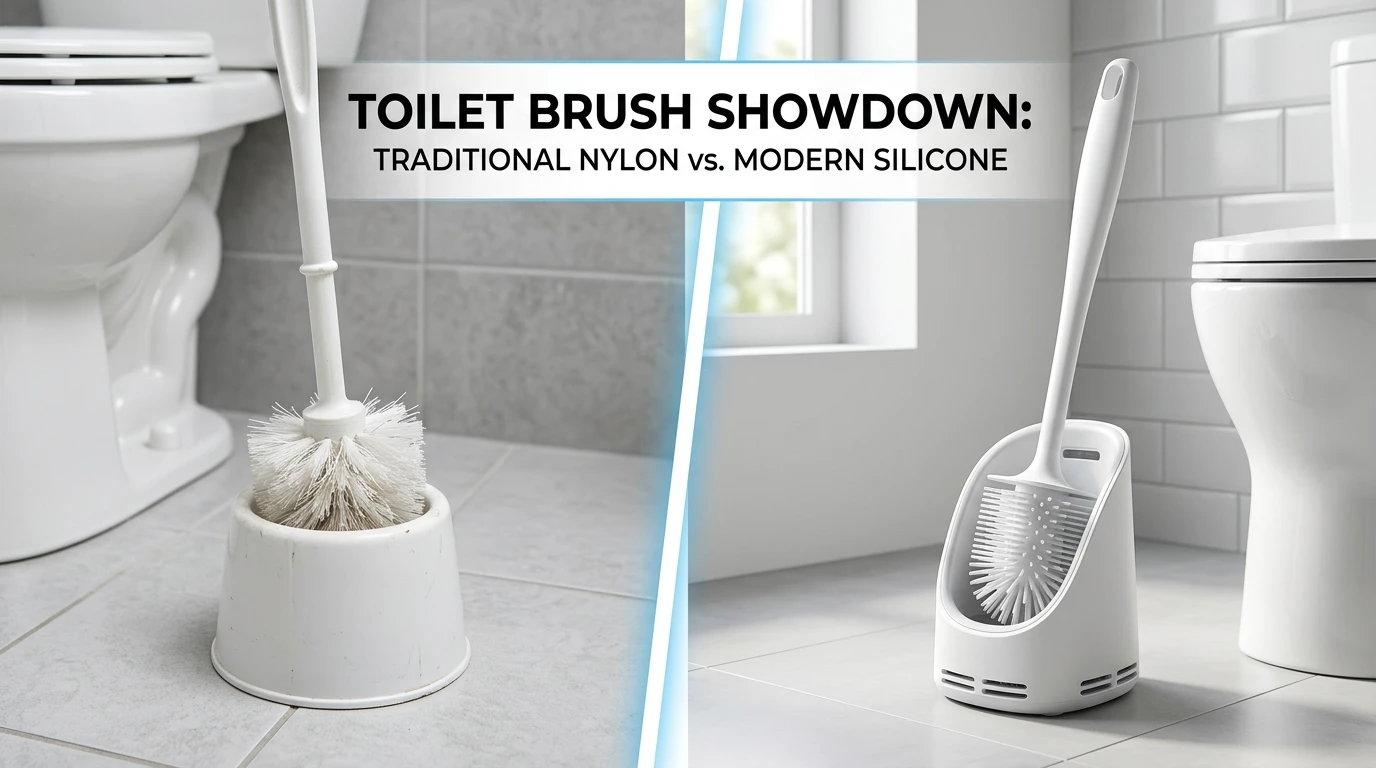
Bristle care is one part of a wider habit. The same material logic — match the method to the tool — applies to how you clean a toilet brush, where the geometry and the hygiene stakes are different but the drying principle is identical.
When Should You Trim or Replace a Broom Head?
Trim a broom head once, then replace it. Cut frayed bristles away just above the point where the fraying begins — the technique the source gives for prolonging a broom’s working life — and you restore an even sweeping edge (Martha Stewart, 2025). The trade-off is length: every trim shortens the head, which is why the rule is trim once and then replace rather than trim repeatedly. Some splaying is not a fault, so the trigger for trimming is a tip that has curled, split or turned into a hook shape.
Ask four questions before buying anything new:
| Question | If yes |
|---|---|
| Is the block cracked, warped or loose on the handle? | Replace the head or the tool — a failing block sheds bristles |
| Is the handle sealed or fixed to the head? | Replace the complete unit; a separate head is not an option |
| Roughly a third or more of the tips splayed or split? (a rule of thumb, not a measurement) | Replace the head; trimming that far removes too much length |
| Has this head already been trimmed once? | Replace it — a second trim costs more bristle length than it returns |
For facilities and cleaning contractors, the practical version of this section is a five-line routine that can be handed to staff:
- Strip the bristles dry before every wash — comb, tap, vacuum.
- Wash warm, bristles only, neutral detergent; never hot water.
- Rinse until the water runs clear.
- Dry bristles-down in moving air, and never store a damp head.
- Inspect monthly: clean, trim once, then replace the head. Set the cadence by zone, not by the calendar.

Teeth Design Standing Wind Proof Broom and Dustpan Set (FSZ0029)
The molded teeth on the pan edge perform step one of this routine — combing dry debris out of the bristles before any water is involved. The set stands on its own for storage.
View product pageFrequently Asked Questions
Should you get a broom wet at all?
Yes, periodically, but never before the dry debris is stripped out. Wetting a soiled broom turns dust, hair and grease into a paste that packs into the bristle base. Rinse until the water runs clear, then dry the head completely. The CDC advises cleaning reusable cleaning equipment and storing it dry between uses.
How often should you clean broom bristles?
Published guidance ranges from monthly (Martha Stewart) to roughly quarterly (wikiHow). The interval that survives real use is soil-based rather than calendar-based: clean after sweeping anything greasy or wet, and otherwise follow the floor-care cycle of that zone. A kitchen or restroom broom needs attention far sooner than a warehouse push broom. The same logic applies to tools that trap fine dust rather than grit — see our guide to cleaning a microfiber duster.
How do you get gunk out of the base of the bristles?
Strip the dry debris first, then wash in warm water with a neutral detergent and work a stiff non-metal brush from the block toward the tips. For oil and grease, use a dedicated degreaser instead of a longer soak. Soaking alone does not dissolve a grease-and-dust paste; mechanical action does.
Can you wash broom bristles with vinegar or bleach?
Vinegar is a reasonable mild acid wash for synthetic bristles, but keep it away from metal ferrules and do not use it repeatedly on natural fiber. Bleach is a disinfectant, not a cleaner: the CDC states disinfectants are only for disinfecting after cleaning, and brooms and dry mops are not listed as tools for disinfecting surfaces.
Can you put a broom head in the dishwasher?
No — for the same reason hot water is out: a normal dishwasher cycle runs at temperatures that will deform a polypropylene head. If the head unscrews, wash it by hand in the sink. Natural fiber and steel heads are even less suitable.
Conclusion
Broom care comes down to sequence and material, not to the brand of dish soap. Strip the debris while it is dry, wash the bristles in warm water only, keep the block out of the water, and let the head dry completely before it goes back on the wall.
The step people skip — drying the head completely — is also the one that costs nothing.
JESUN’s broom range includes angle, push, lobby, whisk and squeegee formats, along with broom-and-dustpan sets that build the first step of this routine into the pan.
References
- Centers for Disease Control and Prevention. “Cleaning Supplies and Equipment — Best Practices for Environmental Cleaning in Global Healthcare Facilities.” CDC, March 19, 2024. https://www.cdc.gov/healthcare-associated-infections/hcp/cleaning-global/supplies-and-equipment.html
- Capria VM, Fernandez MO, Walker MM, Bergdall VK. “Comparison of Floor Cleaning and Disinfection Processes in a Research Animal Facility.” Journal of the American Association for Laboratory Animal Science, 2022;61(6):644–649. https://pmc.ncbi.nlm.nih.gov/articles/PMC9732774/
- Barron M. “Microbial Inhabitants of Cleaning Appliances and Tools.” American Society for Microbiology, November 21, 2022. https://asm.org/articles/2022/november/microbial-inhabitants-cleaning-appliances
- GLYarn. “The Moisture Absorption Principle of Polyester Filament.” GLYarn technical guide. https://www.glyarn.com/the-moisture-absorption-principle-of-polyester-filament-a-technical-guide-for-textile-professionals/
- NylonPlastic. “Nylon Moisture Absorption: How Water Affects PA6 and PA66 Properties.” Material reference, June 2, 2026. https://nylonplastic.com/nylon-moisture-absorption-effects-properties/
- UL Prospector. “Dry versus conditioned nylon explained.” UL Prospector Knowledge Center (Andy Pye). https://www.ulprospector.com/knowledge/1489/pe-dry-vs-conditioned-polyamide-nylon/
- r/CleaningTips. “Can you clean a broom?” (quoted user advice on washing after removing solids). Reddit. https://www.reddit.com/r/CleaningTips/comments/1ajjdk3/can_you_clean_a_broom/
- Allen N. “Stop Sweeping with a Dirty Broom: Here’s How to Clean It the Right Way.” Better Homes & Gardens, October 16, 2025. https://www.bhg.com/how-to-clean-a-broom-8766466
- wikiHow. “How to Clean Brooms.” Co-authored by Erik Bakirov, updated July 7, 2025. https://www.wikihow.com/Clean-a-Broom
- Buiano M. “How to Clean a Broom the Right Way.” Martha Stewart, updated May 19, 2025. https://www.marthastewart.com/8394453/how-to-clean-a-broom
- Godwin C. “Need to clean your cleaning tools? This video tutorial shows you how.” USA Today, January 11, 2026. https://www.usatoday.com/story/life/problem-solved/2026/01/11/how-to-clean-toilet-brush-broom-mops/88084885007/
- Macdonald K. “Wait — You’re Supposed to Clean Your Broom?” Food52, January 23, 2019. https://food52.com/story/23695-how-to-clean-and-sanitize-broom


 English
 Spanish
 Russian
 Arabic