
Key Takeaways
- Professionals clean in an order, not in a rush: outside first, then inside, then the floor, so contamination never travels back.
- Pushing the bowl water down the outlet exposes the water line and the under-rim channel, which is where the visible ring actually sits.
- The brush is the tool nobody cleans, and a damp brush stored in a closed holder re-inoculates the bowl it just cleaned.
- Cleaning with soap and water removes most household soil and germs; disinfection is for illness in the home, not for every weekly pass.
- Ventilate the room and never mix cleaning products, because toilet cleaners and bleach together release chlorine gas.
Introduction
Cleaning a toilet properly takes about five minutes, and the difference between a five-minute job and a twenty-minute one is almost entirely order. Most people start inside the bowl, splash water onto the floor and the seat, then wipe the outside and put the brush away. The professional version reverses parts of that sequence, moving from the cleanest surfaces to the dirtiest and from the outside in, so nothing that has touched the bowl ends up on something you or a guest will touch afterwards. The second difference is attention to two places most people skip: the under-rim channel and the water line.
The hygiene case for doing it properly is stronger than the cosmetic one. A classic study of household toilets found that bacteria and viruses seeded into a bowl persisted after flushing and continued to elute from the porcelain over subsequent flushes, which means a bowl is a reservoir rather than a single event you can rinse away (Gerba et al., 1975). Consequently, the visible ring and the under-rim channel are not just stains; they are where the residual load concentrates. Meanwhile, the tool you clean with matters as much as the method, because a warm, damp brush sitting in a closed holder is the ideal place for that load to accumulate between cleanings.
This guide covers the order, the two steps that most routines skip, the outside-and-hinges detail, how to keep the brush itself clean, and the difference between cleaning and disinfecting. In our experience, the single change that improves results most is pushing the water out of the bowl before scrubbing, because it exposes the surface where the ring forms.
The Order That Makes It Fast
The sequence below is ordered by contamination: you begin with surfaces that are furthest from the bowl and finish with the bowl itself, then the floor. That way the cloth, the sponge and your gloves never carry bowl residue onto the tank, the handle or the seat. Most professional routines follow the same logic for any room — clean from high to low and from clean to dirty — and the toilet is where it pays off most because the surfaces are so close together.
The practical version runs as follows. Ventilate first by opening a window or running the extractor fan, and put on gloves. Apply cleaner to the inside of the bowl and let it sit while you work on the outside, because the dwell time is doing work in parallel. Then do the tank, the lid, the seat’s upper face, the hinges and the base, using a separate cloth from the one you will use inside. Come back to the bowl, do the inside, then the seat’s underside, then the floor around the base. Finally, clean the brush and put it away dry. In our experience, following this order takes about five minutes on a weekly basis and avoids the small re-cleaning loop that happens when you do it in the other order.
| Order | What you clean | Cloth or tool | Why it comes here |
|---|---|---|---|
| 1 | Ventilate, glove up, apply bowl cleaner | Product only | Starts the dwell time while you work on other surfaces |
| 2 | Cistern lid, tank, flush handle | Damp cloth A | Highest and furthest from the bowl, so it stays clean |
| 3 | Seat top, hinges, outside of bowl | Damp cloth A | Touched most often, cleaned before the bowl contaminates anything |
| 4 | Inside the bowl, water line, under-rim channel | Brush | The dirtiest step, done after the outside is finished |
| 5 | Seat underside, base, floor around it | Cloth B | Catches everything dislodged by the steps above |
| 6 | The brush itself | Flush and a ventilated holder | Stops a damp head re-inoculating the bowl between cleans |
Step 1: Push the Water Down
Before you scrub, push the standing water down the outlet. A bowl holds water at a level that covers the lower part of the surface, and the water line — the ring of mineral deposit and soil that forms exactly at that height — is the most visible stain in the bowl. If you scrub with the water in place, the brush rides above the ring and the water dilutes whatever cleaner you applied. Pushing the water down with a firm plunging motion of the brush exposes the ring and lets the cleaner reach it.
Two details make this work. First, apply the cleaner before pushing so the chemical has time on the exposed surface, not just on the water. Second, use the brush’s own motion rather than a separate plunger, because a plunger is for blockages and using one in a clean bowl simply means cleaning the plunger afterwards. In our experience, this single step is what separates a bowl that looks clean from one that still shows a faint brown line after the brush has been put away. If the ring survives cleaning, it has become mineral scale rather than organic soil, and it needs an acidic descaler and a soak rather than more scrubbing. Notably, a ring that returns within a week of a thorough clean is usually telling you the flush itself is weak rather than that your routine is failing.
Step 2: Clean the Under-Rim Channel
The under-rim channel is a recess that runs around the inside of the bowl just below the rim, and it is where flush water leaves the cistern and enters the bowl. Because it is sheltered, it collects a film of deposit that the flush does not remove, and because it is above the water line it dries slowly between uses. That combination is why the under-rim area is often the source of a bathroom smell that no amount of surface cleaning addresses. It is also the place a round brush head physically cannot reach, because the head is wider than the recess itself.
Getting it clean requires geometry rather than force. A brush with an angled or narrow head reaches the channel better than a round one, because the tufts can follow the curve instead of riding over it. Apply cleaner and give it several minutes of dwell time before agitating, then work the head along the channel rather than pressing straight up into it. If the rim has outlet jets — small holes that direct water around the bowl — check them for mineral blockage, because a partly blocked jet reduces the flush and causes the deposit to build faster. In our experience, this is the step that changes how a toilet smells rather than how it looks. For example, a bowl that looks spotless but smells faintly of drains usually has a film in the under-rim channel that no amount of surface cleaning reaches.

JESUN Bathroom Toilet Bowl Cleaning Brush (FSZ0030)
Toilet bowl brush with a shaped head for reaching the bowl’s inner curves, supplied in bathroom cleaning sets. A narrow or angled head is what makes the under-rim channel reachable at all.
Step 3: Outside, Seat, Hinges and Base
The outside of a toilet is where most of the visible grime collects, and it is the part guests actually see. Work from the top down: the cistern lid and tank, then the flush handle, then the seat’s upper face, then the hinge area, then the outside of the bowl, and finally the base and the floor around it. The hinges deserve specific attention because hair and dust collect in them, and a damp cloth wrapped around a finger reaches the gap better than a brush. The base and the floor behind the pedestal are the last step, because anything you dislodge during the rest of the routine ends up there.
Two points of technique matter. Use a cloth that is damp rather than wet, because water running down the outside of the bowl carries soil into the base and the floor. And keep the cloth you use on the outside separate from the one you use inside the bowl, or use the inside cloth last and discard it into the laundry immediately. Meanwhile, the flush handle and the seat are the two most-touched points in the room, which is why they are the parts worth cleaning with the most care rather than the largest amount of product. A neutral bathroom cleaner is sufficient; bleach is not needed for a routine weekly pass. Importantly, the two most-touched points in the room — the handle and the seat — deserve the most care, not the most product.
Step 4: Clean the Brush Itself
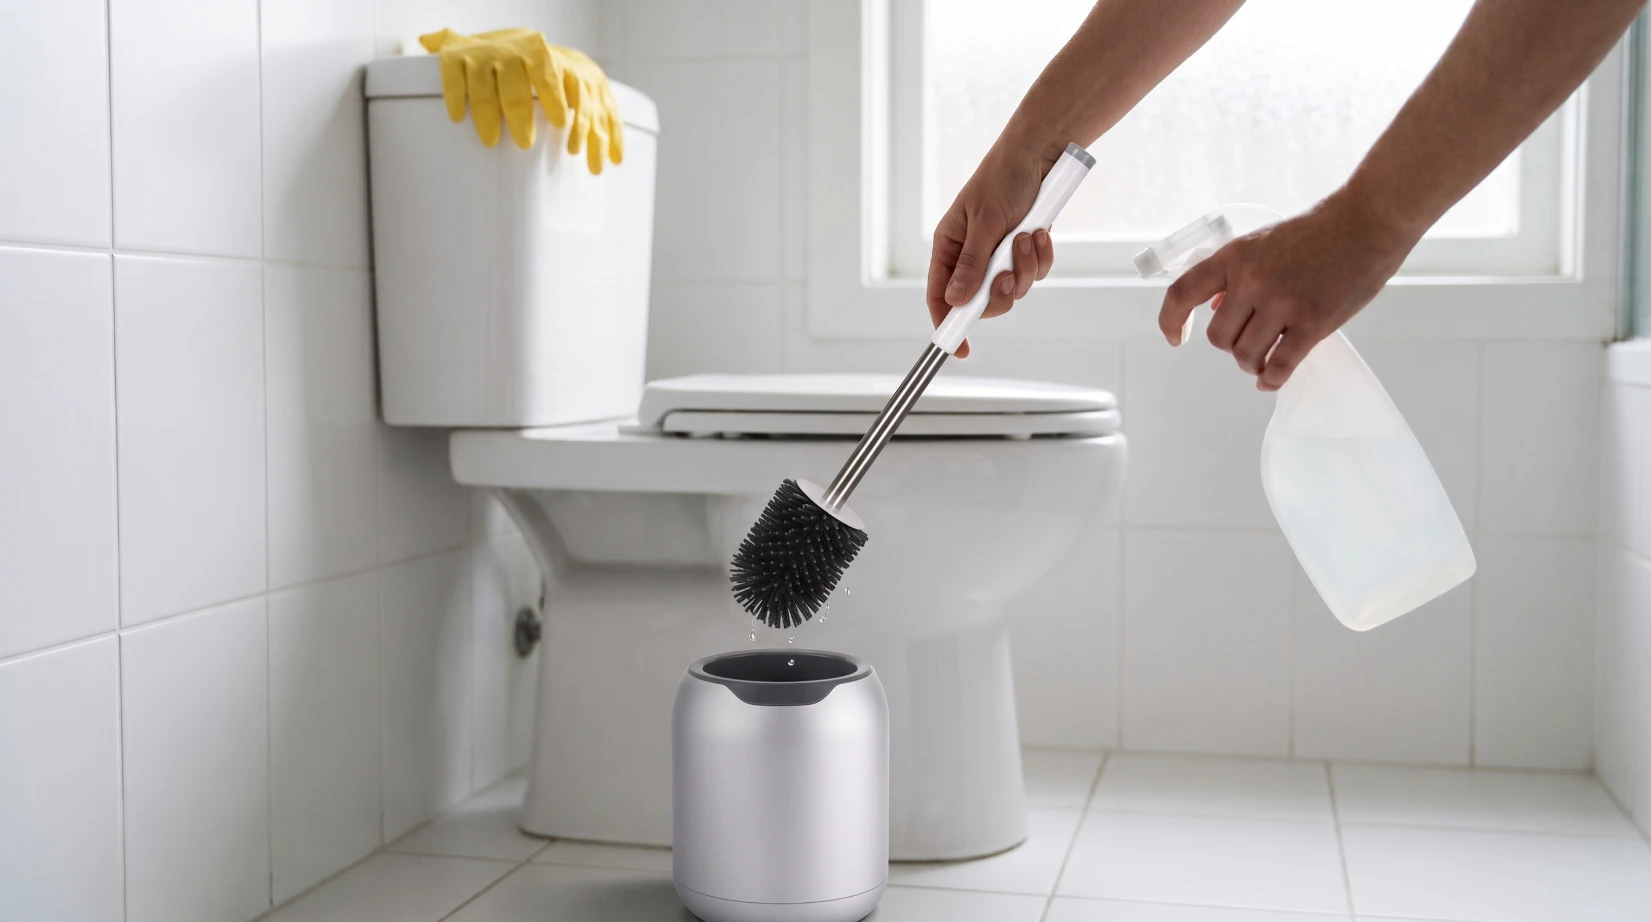
The brush is the tool that most routines overlook, and it is the one that decides whether the next cleaning session starts from a clean baseline. After use, rinse the head in the bowl or under the flush, shake it out, and let it dry in a ventilated holder rather than dropping it into a closed cup. An enclosed, unvented holder keeps the head wet for hours, and a wet head is where the residual load accumulates between cleanings. The mechanics are well documented for damp cleaning tools generally: wet mops stored between uses were shown to be the source of widespread contamination on floors, and drying broke the cycle (Westwood et al., 1971).
Three habits keep a brush usable. Rinse it after every use rather than only when the bathroom day comes around. Store it so air reaches the head, which usually means a holder with vents or drainage rather than a sealed cup. And replace it on a schedule, because bristles splay and a splayed head stops reaching the water line — typically every three to six months for a bristle head, and longer for a silicone or rubber head that does not deform. In our experience, a family that adopts those three habits stops noticing bathroom odour altogether, and the reason is the brush rather than the cleaner.

JESUN Toilet Plunger and Brush Set (FX-06)
Combined toilet plunger and brush set in PP and PVC, 10×10×40 cm, 0.2 kg. Keeps the blockage tool and the cleaning tool together, which is what you want when a routine clean turns into something else.
Step 5: Clean or Disinfect? Knowing the Difference
Most weekly cleanings need cleaning, not disinfection, and the distinction is worth understanding because it changes what you buy and how often you use it. Cleaning removes soil and most germs with soap or detergent and water; sanitising reduces germs to a level considered safe; disinfecting kills most germs on a surface and requires a product that stays wet for a stated contact time. Public health guidance is that cleaning regularly is enough in most situations, and that disinfection is for when someone in the home is sick or at higher risk (CDC, 2025). For a toilet, that means a neutral cleaner plus a good routine covers the weekly pass.
Three safety points belong with this step. First, ventilate: toilet cleaners and bleach both produce vapour, and a small bathroom concentrates it. Second, never mix products, because acid descalers and chlorine bleach together release chlorine gas, and mixing is the most common serious accident in bathroom cleaning. Third, if you do disinfect, follow the contact time on the label, because a product wiped off immediately has not had time to work. In our experience, the households that get the best results use one neutral cleaner for routine passes and a disinfectant only after illness, which also means they never have to worry about mixing the two.
Frequently Asked Questions
How do professionals clean a toilet?
Ventilate and apply bowl cleaner first so it dwells while you work. Clean from clean to dirty: the outside, tank, seat and hinges, then the inside of the bowl, then the seat’s underside, then the floor around the base. Finish by rinsing and drying the brush and storing it ventilated.
How do I get the ring off the water line?
Push the standing water down the outlet first, which exposes the ring and the surface it sits on. Apply cleaner, allow dwell time, then work the brush along the line. If the ring survives cleaning, it has become mineral scale and needs an acidic descaler and a soak rather than more scrubbing.
Should I use bleach to clean a toilet?
Not for a routine weekly pass. Cleaning with soap or detergent and water removes most household soil and germs, and disinfection is reserved for when someone is sick or at higher risk. If you do use bleach, ventilate the room and never mix it with an acid descaler, because together they release chlorine gas.
How often should a toilet be cleaned?
Weekly for the full routine in a household, with the under-rim channel included, and a quick wipe of the seat and handle more often in a shared bathroom. Clean immediately after any illness in the home, and check the brush at the same time, since a damp brush stored in a closed holder is the usual cause of lingering odour.
Why does my bathroom still smell after cleaning?
Usually the under-rim channel or the brush. The channel is a sheltered recess where deposit collects above the water line, and a round brush head cannot reach it. A damp brush in an unvented holder adds to it. Clean the channel with an angled head, and store the brush so the head dries between uses.
Sourcing toilet brushes and bathroom sets?
We manufacture silicone, TPR, bristle and disposable toilet brushes with ventilated holders, plunger sets and angled-head designs, plus OEM or ODM packaging, from low MOQs.
Request Wholesale Pricing →Conclusion
Cleaning a toilet well is a question of order and of two specific places. Work from clean surfaces to dirty ones and finish with the floor, push the bowl water down so the water line is exposed, and use an angled head to reach the under-rim channel where deposit and odour actually accumulate. Then clean the tool itself, because a damp brush in a closed holder undoes the work within a day. That said, the step most routines skip is also the cheapest: rinsing the brush and letting the head dry, which is what keeps the next cleaning session starting from a clean baseline rather than a reservoir.
We build toilet brushes and bathroom cleaning sets with ventilated holders and heads shaped for the bowl’s inner curves, and we are happy to help you match a range to your market.
References
- Gerba CP, Wallis C, Melnick JL — “Microbiological Hazards of Household Toilets: Droplet Production and the Fate of Residual Organisms,” Applied Microbiology 30(2):229–237, 1975 (bacteria and viruses seeded into household toilets remained in the bowl after flushing, with a persistent fraction adsorbing to the porcelain and eluting on subsequent flushes). journals.asm.org/doi/10.1128/am.30.2.229-237.1975
- Westwood JCN, Mitchell MA, Legacé S — “Hospital Sanitation: the Massive Bacterial Contamination of the Wet Mop,” Applied Microbiology 21(4):693–697, 1971 (wet cleaning tools stored between uses were the source of widespread bacterial contamination; drying and correct storage broke the cycle). journals.asm.org/doi/10.1128/am.21.4.693-697.1971
- US Centers for Disease Control and Prevention — “When and How to Clean and Disinfect Your Home” (cleaning removes most germs, dirt and impurities from surfaces; cleaning regularly is enough in most situations and disinfection is for when someone is sick or at higher risk). cdc.gov/hygiene/about/when-and-how-to-clean-and-disinfect-your-home.html
- University of Illinois Extension — “A guide to keeping your sponges, dish rags and scrub brushes clean” (cleaning tools that are not washed and dried between uses become a contamination source rather than a cleaning aid). extension.illinois.edu/blogs/simply-nutritious-quick-and-delicious
This guide was written by the JESUN Cleaning Tools Team and reviewed by our product engineering group. You can read more about us or contact our team with questions about toilet brush specifications.
Continue Learning
- Types of Toilet Brushes — which head shape reaches which part of the bowl.
- Beyond the Bowl: Deep Cleaning Your Toilet Brush — the tool-care routine in more depth.
- Toilet maintenance range — brushes, plungers and holder sets in bulk.

 English
 Spanish
 Russian
 Arabic