目录
ToggleUnderstanding Mop Water Contamination
Mop water contamination occurs when dirt, grime, and potentially harmful bacteria are collected and spread during the mopping process. This can result in unwanted health hazards and should be properly addressed to maintain a clean and safe environment.
One common problem with mop water is the accumulation of bacteria. When mops are not cleaned regularly or are used on multiple surfaces, they can pick up various bacteria and spread them throughout the mop water. Additionally, damp and dirty mop heads can offer an ideal breeding ground for bacteria, further contributing to the spread of contaminants.
Another source of mop water contamination involves the use of harsh cleaning chemicals. Many commercial mop water solutions contain strong chemicals that can be harmful if they come into direct contact with the skin or are inhaled. Moreover, these chemicals can pollute the environment when mop water is not disposed of properly.
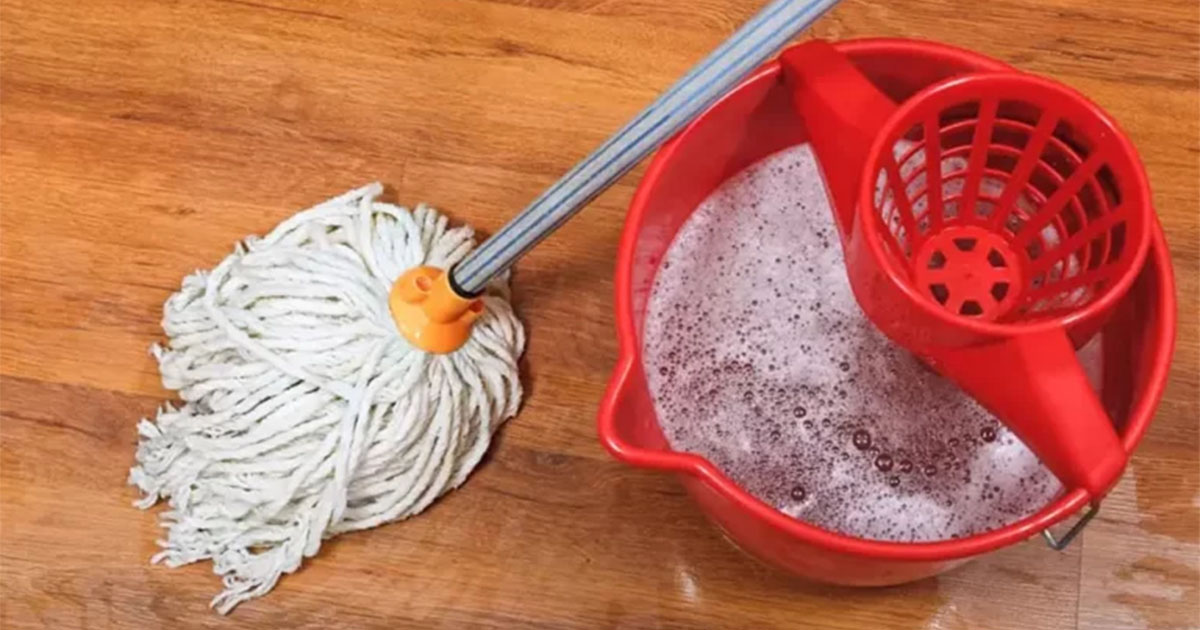
To prevent mop water contamination, it is essential to practice proper cleaning techniques. A two-bucket system is recommended, where one bucket contains clean water and detergent, and the other is used for wringing out the dirty water. This ensures that dirty water is not re-introduced to the cleaning process.
Additionally, regularly replacing or washing mop heads and using eco-friendly cleaning solutions can further mitigate contamination risks. If you want to learn how to effectively clean a mop to maintain its best condition, check out our Ultimate Guide to Cleaning a Mop.
Proper disposal of contaminated mop water is critical to maintaining a clean and safe environment. Mop water should be poured into a floor drain, laundry sink, or sanitation sink and should never be poured into a sink meant for employees or residents of the area. Following these steps will ensure that mop water is handled and disposed of correctly, limiting the spread of bacteria and contaminants.

How to Handle the Dirty Mop Water
Using Appropriate Lifting Techniques
When handling a bucket of dirty mop water, it’s essential to use proper lifting techniques to avoid injuries. Bend your knees and keep your back straight while lifting the bucket. Hold the container close to your body, and grip it firmly using both hands. This reduces strain on your back and minimizes the risk of spills.
Pouring Dirty Water Responsibly
It’s crucial to dispose of the dirty mop water in an appropriate manner to maintain sanitary conditions. Ensure to pour the dirty mop water into a floor drain, laundry sink, or sanitation sink. Avoid pouring the water into a sink meant for employees or residents, as it poses hygiene risks. In cases where a toilet drain is the only available option, shut off the water supply and remove the toilet first.
Disposing of Mop Water
Once you have properly poured the dirty water out, you should take steps to clean the bucket and mop. Thoroughly rinse the bucket and mop using clean water, disinfecting them if necessary. By following appropriate cleaning practices, you can prevent the spread of bacteria and ensure a clean environment for your next mopping session.

Proper Equipment and Tools
To handle a bucket of dirty mop water correctly and efficiently, it’s vital to have the proper equipment and tools at your disposal. First and foremost, you should use a high quality mop bucket that is equipped with a wringer—a device designed to squeeze excess water from the mop head. This not only allows for better floor cleaning but also makes it significantly easier to dispose of the dirty water afterward.
Another essential tool is a pair of rubber gloves. These provide protection for your hands against the contaminants in the dirty mop water, preventing skin irritation and potential infections. Gloves also ensure a more sanitary cleaning process, as you won’t be in direct contact with dirty water.
Additionally, having a designated area where you dispose of the dirty water is crucial. This can range from a floor drain or laundry sink to an open sewer or even a toilet, provided you follow proper precautions. If you choose to use a toilet, remember to close the lid afterward, minimizing potential splashes and unpleasant odors.
It’s essential to maintain cleanliness not only during the mopping process but also afterward when you need to store the equipment. Be sure to thoroughly rinse and dry the mop head and bucket, as allowing them to sit in leftover dirty water can lead to bacteria growth and unpleasant odors. Proper storage of your mop and bucket extends the life of your equipment and keeps your working space sanitary.

Preparing for the Cleaning Process
Ensuring Personal Safety
Before handling a bucket of dirty mop water, it’s important to prioritize personal safety. Wearing cleaning gloves can protect hands from exposure to harmful bacteria and contaminants present in the water. Additionally, choose non-slip shoes to prevent accidents when navigating wet surfaces.
Organizing the Cleaning Area
Adequate preparation of the cleaning area helps to streamline the process and minimize the spread of contaminants. First, clear any obstacles and debris from the cleaning zone. Then, set up a functional cleaning station by assembling essential supplies such as a two-chamber bucket system, cleaning solution, mop, and a rinse water chamber. The two-chamber bucket system separates clean water and rinse water, effectively prolonging the usefulness of the cleaning solution.
Finally, designate a suitable area to dispose of the dirty mop water, ensuring it doesn’t clog drains or harm the environment.


